Showing posts with label OPI. Show all posts

Thursday, April 5, 2012

Easter Nails


Colours used: thumb and 1st two fingers OPI's "Planks a lot", Ring finger OPI's "Pink Friday", Pinky finger Orly's "Spark". The Snail's shell is OPI's "What's with the Cattitude"

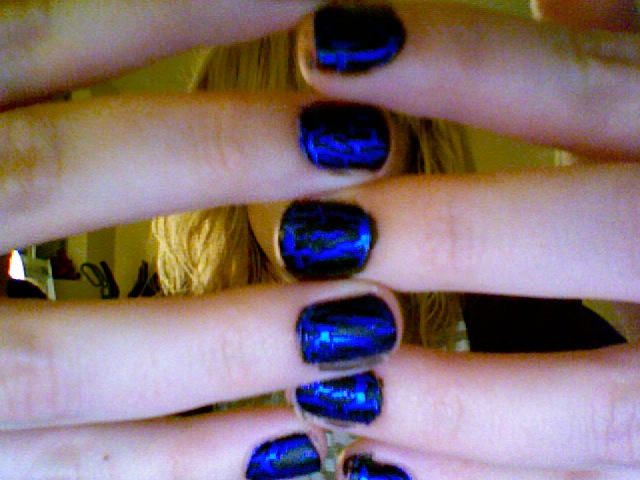
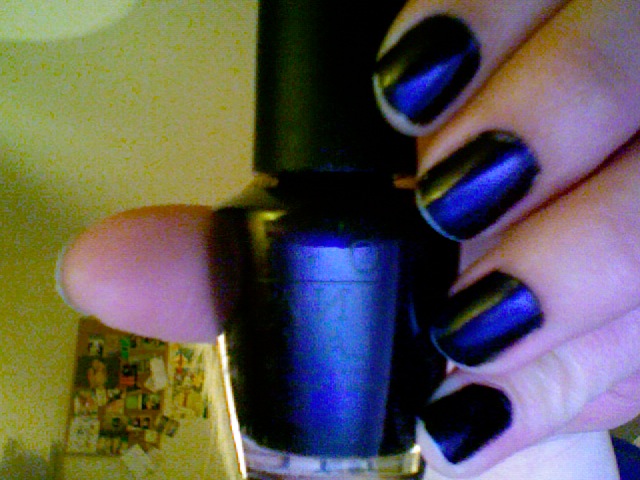
I also used OPI's "I Juggle...Men" on the first two fingers as a glitter over coat but it didn't end up showing too well. I have to say I'm a little disappointed in that bottle its too subtle for my liking. But I will give it another try soon!

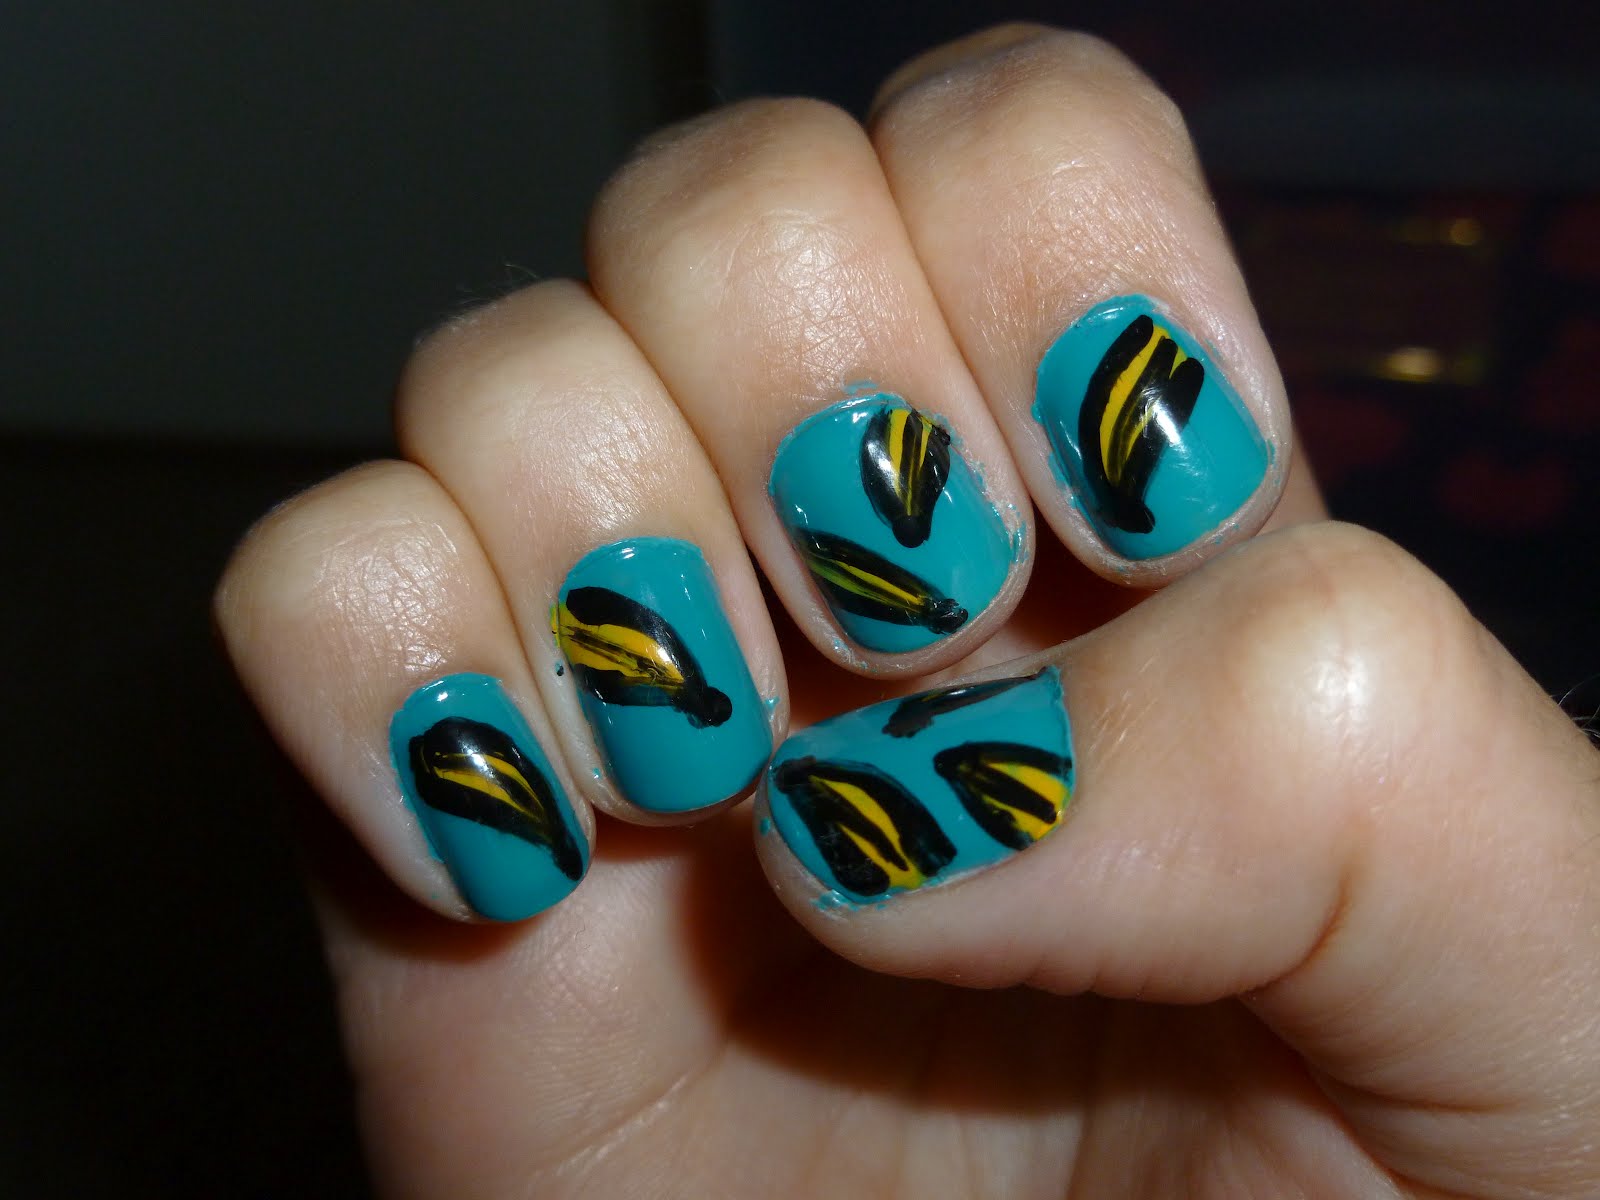
Just a little spring Easter design! The snail is by request! From my boyfriend who wanted to see a snail nail, not sure how well I did!

Enjoy,
kmatheson

Sorry for all the short posts lately, school has been mega busy! There will be once I'm not so busy

Thursday, March 29, 2012

These nails are bananas, B-A-N-A-N-A-S


Trust me, that song will now be stuck in your head...

Start off with a base colour I used OPI's "Fly" (Nicki Minaj Collection) I use this colour a lot, it's definitely worth purchasing if you can find it!
With a striping brush, put a yellow long streak and let dry. I used OPI's "the IT colour"
Once it dries, get another striping brush and outline the bananas with black.
Seal with a top coat and you're done!

You don't have to do different bananas all over, I just wanted to do that!

Enjoy!
kmatheson

Saturday, March 24, 2012

Time for a little Summer


Seeing as it's been so nice outside lately, I felt the need to make my nails a little bit more summer-y. Now this watermelon manicure has been all over blog sites (not really recently, but I've seen them around) and it's simple.

Start by painting your nails a coral or pink I used OPI's "Big Hair, Big Nails" from the Texas collection. Then I painted the 'rind' which the green I used doesn't have a name on it but anything that is a rich green will work. Then I used a striping brush for the white of the rind, easy peasy. For the "seeds" I used the end of a black striping brush creating long dots. and Volia!

I know mine is a bit messy, I was getting quite shaky!

Enjoy!
kmatheson

Sunday, March 4, 2012

Hey Stud


FINALLY!
I got studs for my nails! I had been looking for those for a very long time, it was a great find for my nail obsession. Besides the studs, I also used Sally Hansen's Smooth and Perfect nail polish in 08 Sorbet which I was curious about because I wanted to know about the smooth claim and what not (that's the peachy colour used in the design). At first I didn't like the nail polish because I don't like colours that look too nude and I wanted this one to be more pink. However once I was finished the design, how my nails felt was incredible. They feel like fake nails because they are so smooth (even with the stud on it) I'm thoroughly impressed with this polish because my nails chip and crack so easily this one really protects it. They have a lot of really nice pastel colours too which I'm currently dying over. At about 7 dollars they are worth picking up!
Colours used: "Fly" By OPI (Nicki Minaj Collection), "08 Sorbet" By Sally Hansen Smooth and Perfect.

Also! I finally included an HD picture :) (it's the first one)

PLH,
kmatheson

Monday, March 7, 2011

Review: OPI's "Elephantastic Pink"


I bought this colour over reading week desperate for some spring colour and I found this perfect fix! This is a perfect bubblegum pink, it's super cute... that's really the only way to describe it. It applies really nicely and only took about two coats! This colour is 10/10 and I really can't say more about it! It's lovely and a great spring purchase with a super cute name. If you want a perfect pink hue that's not too soft, purchase this one.

Sorry about all the chips in this picture as well as the ones below.

MORE shatter pictures! This one is OPI's "Ogre the top blue" from the Shrek Collection.
This is OPI's "What's with the Cattitude?" full review here. It's one of my favourite colours ever also from the Shrek collection.

PLH,
kmatheson

Monday, February 14, 2011

It's Never Going to Stop!

First off I have some more photos of OPI's shattered polish with some different colours underneath.

This above photo is my favourite colour combo so far! I used OPI's Happy Anniversary underneath and then put black shatter on top (obviously!). If you want to know more please read my full review on Happy Anniversary here.
This combo I didn't really like! I used Zoya's Kristi polish underneath because my boyfriend was curious to see what red would look like with the shatter. But after wards we both agreed that it was a little too goth for my tastes so I only had it for a day!

On to the real point of this entry! When black shatter came out I thought that it was really neat that now there's technology that makes nail polish separate (yes, I think about that kind of stuff...) so I was wondering if now since this new polish is out, what are the next steps? Are the people at OPI going to release more shattered colours? And lone behold! My thoughts were answered.

OPI is to release a new collection (in May 2011) for Pirates of the Caribbean (4? I believe...the newest one that's coming out) and in this collection there is a METALLIC shatter!!! Which leads me to think that it wouldn't look much different than the Happy Anniversary/Black shatter combo pictured up top. The collection features a lot of cool colours and I'm pretty darn excited for this one! :) I'm starting to think that this shatter insanity is never going to stop! So if you didn't luck out on getting the black shatter, there is still hope!

I found this all out on this article at NYLON magazine's site.

Happy Valentines Day!

PLH,
kmatheson

Tuesday, February 8, 2011

Review: OPI's Black Shatter


oh. my. goodness. :)

I tried SO hard to get this polish and by some genius stroke of luck I FINALLY got it!


This polish makes nail art super easy and it looks really nice :) I think that it would look better with a lighter colour underneath but I was so excited I just used the polish I had on already. (Nicole by OPI "Loyalty to Royalty") I saw this used with a bright pink underneath and I think that it looked a lot better.

How this polish works is you have a base coat (which is the blue that I used) and then paint a layer of this black shatter over top. Make sure that the base coat is dried COMPLETELY otherwise it will not work. At first the polish will look solid black but then as it dries it shifts apart creating the shatter effect. Let that dry, and you have beautiful nails!

Before purchasing this bottle I watched this video, it will show you the shatter effect better as well. If you just want to see the shatter effect go to 1:30.

Here's a clearer picture:


Prepare to see a lot of this colour as I will be using it a lot!


PLH,
kmatheson

Saturday, January 22, 2011

Half Moon Manicure

This past week I decided to do something different with my nails. I found half moon manicures which I saw in a lot of magazines lately so I really wanted to try it!

This is what they're meant to look like....
First paint your nails a light colour, I chose "Moon over Mumbai" (Review here) You want to pick a colour that doesn't need a lot of coats. Wait for this colour to COMPLETELY dry, trust me you may even want to wait for the next day.

After that you take hole re-enforcers (for paper) and stick them halfway on your nails. I cut mine in half and then stuck them on. They should cover the bottom half of your nail (This would be the moon part). Then you pick a darker colour for the second half, I chose "We'll always have Paris" by OPI. Paint the upper half of your nail over the first lighter colour and it should look like this...
Once the second colour has dried slowly peel off the sticker. Once all colours are set, paint a clear top coat over them. and you're all done! These are what mine looked like before I cleaned them up..
Some problems I had were I stuck the stickers on too early so I ended up with my lighter colour messed up :( and I was really disappointed. I also applied too many coats to the bottom layer making it thicker so it took longer for the darker colour to dry and it chipped easier. All in all I really like these! It's easy to do at home and it looks professional! Hopefully I'll have better luck the next time! :)

PLH,
kmatheson

Monday, January 17, 2011

Two Reviews

First up is OPI's "Happy Anniversary!" This colour (I think) is meant to look like diamonds, the picture is a little deceiving that way because you can't really the dimension of the polish. But it's super sparkly while maintaining a smooth finish. I would recommend this colour to replace some of the Burlesque ones because it's smoother and it also doesn't chip as easily. The finish is really metallic and super pretty! A definite must buy!
Secondly, is OPI's "Russian Navy" my apologies for the blurry picture but I was trying to capture how blue this colour really is. The bottle makes it look like its almost black but I swear it's a bright navy once painted. I found that this colour is really nice neutral, it matches with a lot of stuff and I have a soft spot for navy.

Both of these colours are ones that I got for christmas, you can see the rest of them here.

PLH,
kmatheson

Sunday, January 9, 2011

Review: OPI's "Moon over Mumbai"

This photo is SOO terrible! But I didn't have time to take another one because I repainted my nails after this. So this "Moon over Mumbai" also it looks like a white nude in the photo, it is a more greyish purple in real life. This colour is gorgeous! I love it! I got it from one of my best friends for Christmas (she gave me another one too, so expect a review on that later as well) This colour didn't chip for a whole week, which is really impressive considering I usually change my nails every 3 days because of chips. I found that this colour is a nice alternative to the popular taupe colours this season because I could never find a taupe that suited me. This is a perfect neutral and one of my favourites!
These are all the nail polishes that I got for Christmas and I will try to put reviews up on them all! From left to right: Moon over Mumbai, Russian Navy, Lucerne-tainly look Marvelous, Kristi, We'll always Have Paris, Louvre me or Louvre me not and Happy Anniversary!

PLH,
kmatheson

Friday, December 10, 2010

Review: OPI's "Glitzerland"

As promised here is another colour from the the Swiss collection launched in early fall. As you guys know already this is my favourite collection by OPI to date. This colour is beautiful soft gold with a subtle glitter. I think that this one is perfect for the holiday season! Yes, of course everyone will go for that rich red (I have one too so I'm guilty too) but gold is unexpected even though it's a traditional holiday colour. Love love love this! Again the quality of OPI is there and it only takes 2 coats to get a full colour. Definitely purchase this if you have a ton of parties to go!

One combo I really like is a rich red on your toes and this gold on your fingers, it looks marvelous!


PLH,
kmatheson

Saturday, December 4, 2010

Review: OPI's "Cuckoo for this colour"


Let me start off by saying that I am absolutely in love with this collection from OPI, this colour is from OPI's Swiss collection. There is a huge variety of colours in it, it fits the niche of fall/winter colours marvelously! Least to say this one is the only full bottle that I own from this collection, but I have the other ones in smaller forms so be prepared to see those later!
This picture doesn't do the polish justice, but "Cuckoo for this color" is dark forest green with a bit of shimmer to it with hints of blue. It looks black in the photo but you can always tell in person that the colour is green, trust me I hate black nail polish so I won't paint my nails anything close to black. The polish only needs about 2 coats, but I applied three in this picture. It dries smoothly so long as you don't touch it! It doesn't really chip which a quality that I find is universal with OPI colours, you're really paying for the quality and it shows. If you love green and you love the dark rich winter-y colour definitely pick this one up! Or any other of the Swiss collection! This one is definitely one of my favorites. I'll post a full entry on the collection later.
PLH,
kmatheson

Friday, June 4, 2010

Florals and Blue Nail Polish

Product information: Dress; misselfridge.com, Ring; girlprops.com, Clutch; topshop.com, Necklace; amazon.com, Shoes; amazon.com, Nail Polish; nailpolishdiva.com.

I love floral. Hahaha, I will admit it. While looking for the that perfect floral dress, I was thinking about where i would wear it and what not. I thought a wedding would be the best thing for it! A lot of my friends are going to weddings this summer (so jealous!) so I thought I would put a look together for it. :)

This dress is one that I have been looking for forever! I really want to get a strapless fitted floral dress, this is the closet one that I could find to my vision. Those green shoes! Just love them! I think that they may be a little too high for that short of a dress, but any dark green shoes would just be lovely for this. Just in case you were wondering, those shoes are Steve Madden (definitely one of my favourite brands). The necklace is really cute and spunky, a nice touch I thought. The nail polish is one that I have been wanting for so long now! I just love it! I still have yet to purchase it! It's "What's with the Cattitude" by OPI. It's part of the Shrek Forever After edition, (inspired by puss in boots I'm assuming.) It's such a sweet baby blue, definitely needs to be part of my collection. The ring also plays up on the blue colour I feel, putting all the blue hues together making it more subtle. You wouldn't really notice the blue until someone got a glimpse of your stunning hand :). The clutch is super cute and neutral, you could use this for anything really. I've seen a lot of woven bags lately, I'm really liking it, reminds me of a basket. :)
Let me the know, do you like this outfit? What are your feelings on floral? :)

PLH,
kmatheson