

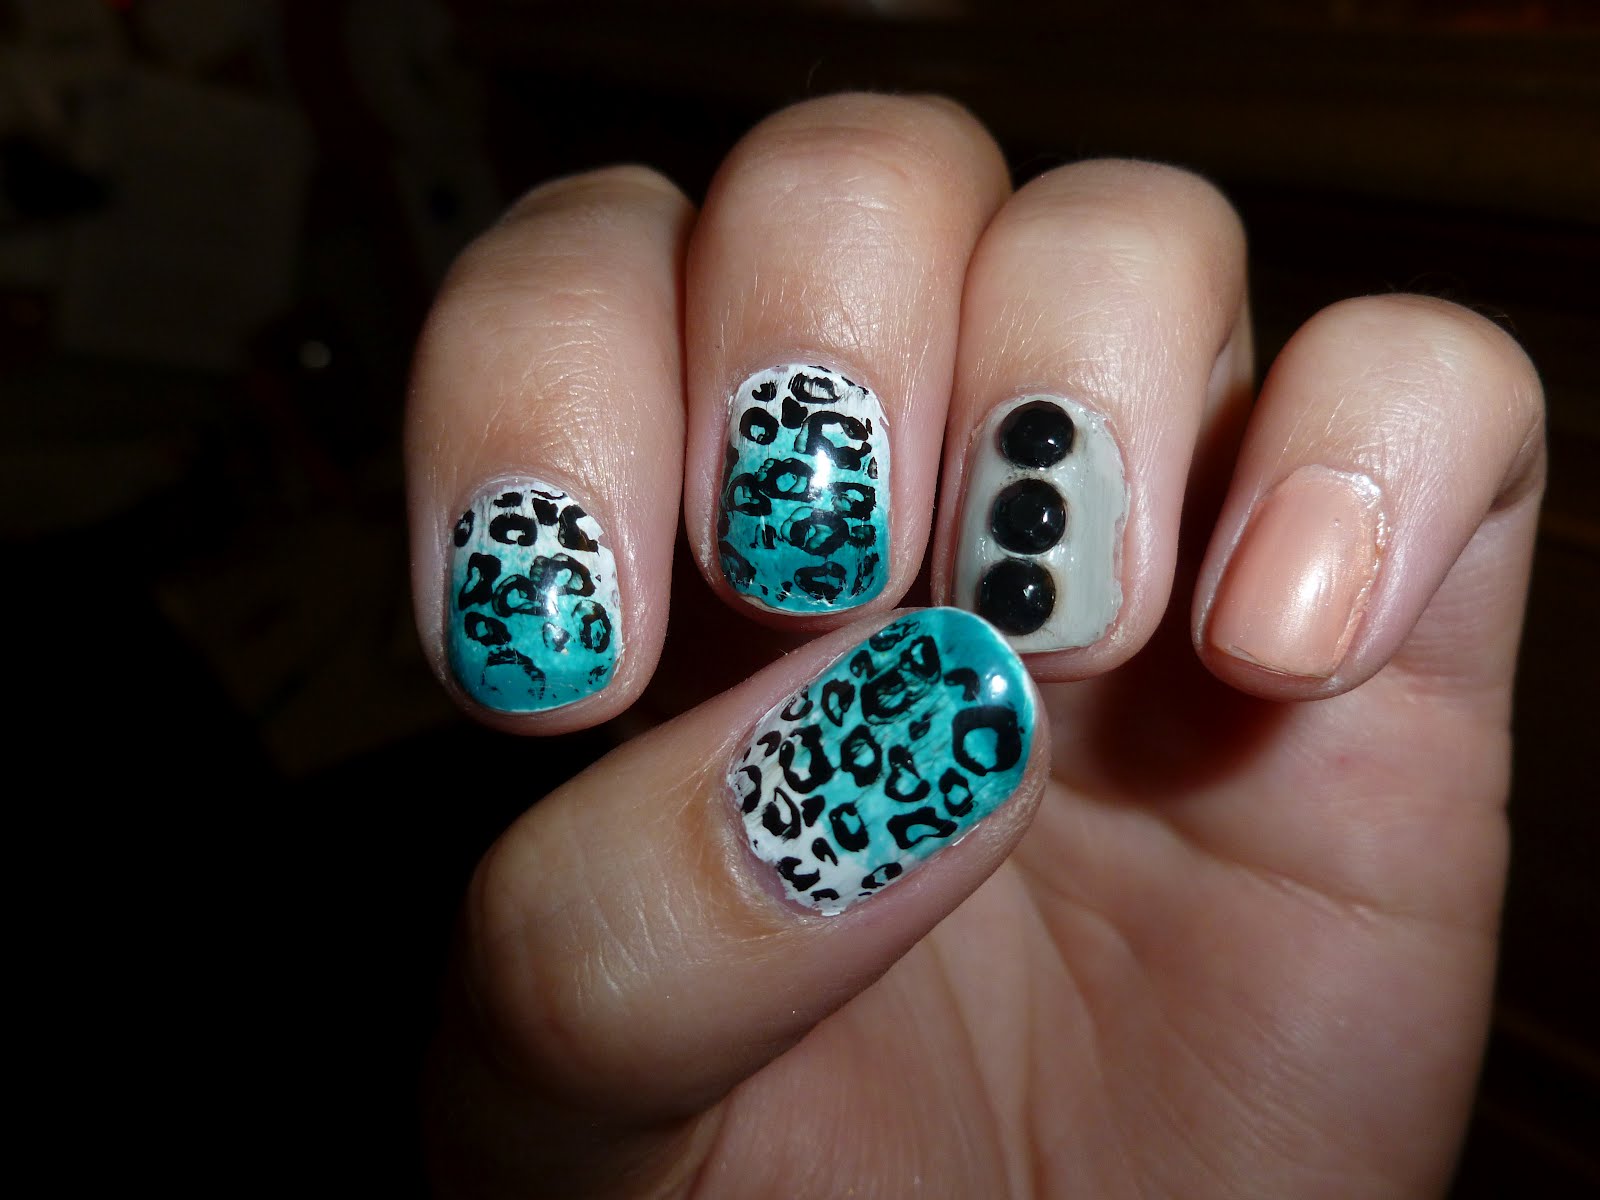
 I have to say I LOVED this design. I knew I wanted to do ombre but, I wasn't so sure that it would look good on me. I know, a tad ridiculous considering my nails are always a little cray. To do the ombre, first paint your nail all white (I did gray on a friend and it looked WAY better, picture below) I didn't like the white that I used and I generally don't like white polish because it gets gunky. Once dry, sponge on the colour (I used OPI's "Fly") 3/4 of the way down your nail. Then once dry do it to 1/2 then 1/4. So majority of the colour would be at the top of your nail (darkest) and fade into the lighter part (the white).
Once that was all set, I used the Konad stamping kit for the leopard print. The plate that I used was BM 221. I don't really like the Konad polishes that came with the kit because they tend to rub off, as you can see in the picture, the spots came off in some parts. Which is frustrating because there is top coat on there! The konad polish also doesn't react well to top coat because it drags the design (ugh!)
This is the variation I did on my friend Elizabeth!
 Products Used (Mine):
Mummy Knows Best- OPI
Fly-OPI
BM Plate 221
Skull & Glossbones - OPI
Smooth & Perfect in Sorbet - Sally Hansen
Products Used (Elizabeth):
Skull & Glossbones - OPI
the "It" Color - OPI
BM plate 225
Hot & Spicy - OPI
PLH,
kmatheson
fitflop footwear
ReplyDeletecoach factory outlet
wholesale jordans
abercrombie & fitch
north face sale
fitflop outlet
under armour outlet
ferragamo shoes
abercrombie kids
coach online outlet
north face clearance
nike outlet
nike online
dior outlet store
gucci shoes
michael kors outlet
gucci sunglasses outlet
gucci shoes for men
dior outlet online
michael kors bags sale
tods outlet
coach purses clearance
michael kors purses sale
fitflops sale clearance
ralph lauren outlet online
coach factory outlet
air jordan retro 6
jordan 11
cheap jordans shoes
prada shoes
ghd
fitflops sale
coach wallets outlet
jordan shoes for cheap
under armour sale
vans outlet
juicy couture
nike stores
hermes outlet online
kobe bryant shoes
cheap nike air max
abercrombie and fitch outlet store
nike nfl jerseys
lebron james basketball shoes
20151012yxj