Showing posts with label how to. Show all posts

Monday, March 12, 2012

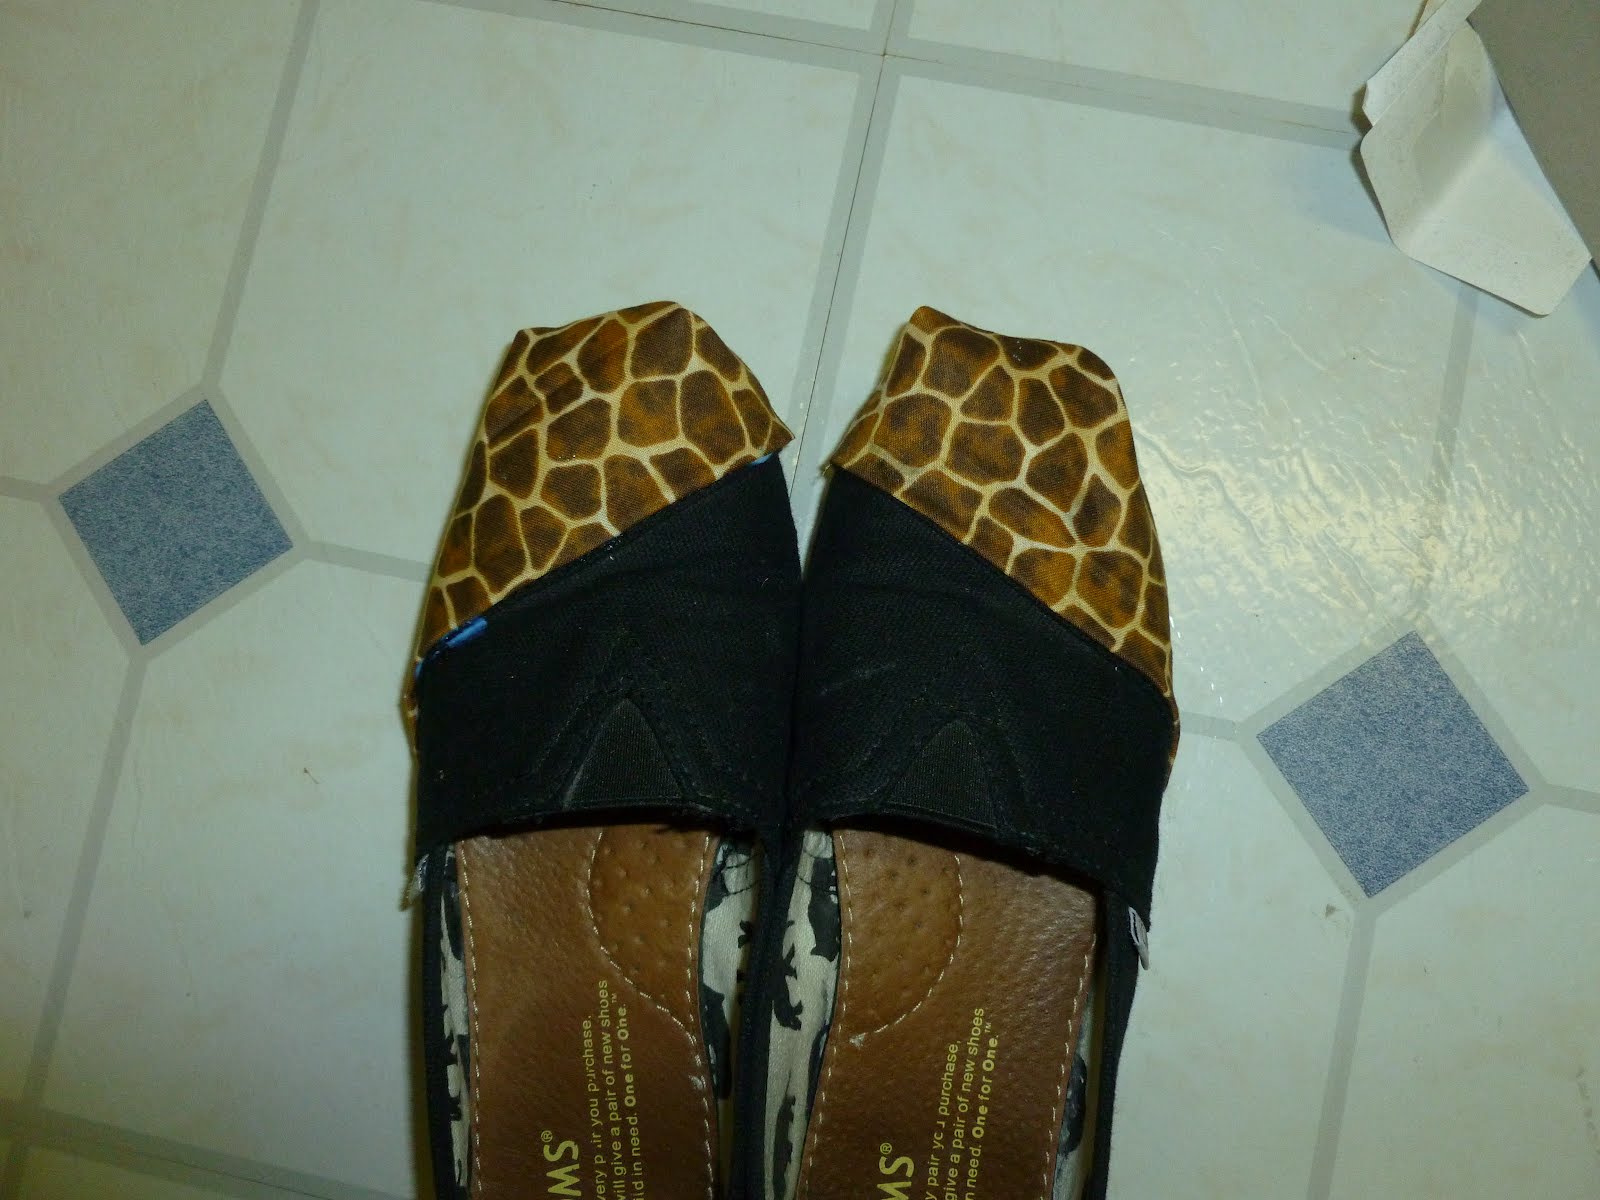
DIY: Giraffe Capped Shoes

You Will Need:
-Scissors
-Fabric Glue (preferably one that has a permanent bond)
-Shoes
-Fabric of your choosing (I chose giraffe print)
-A Marker
Start by measuring your fabric to your shoes, I wanted clean edges so I doubled up the fabric and put the fold on the top of the shoe. You can use the marker to see where to cut once it hits the bottom of the shoe.

Again you want to make sure that you have clean edges, so fold the fabric under around the edges of the shoe and glue down. That purpley-white stuff is the fabric glue.The toes was the hardest part so I suggest completing both sides FIRST, then folding the middle in so that you get nice clean edges...

...like so!
Voila! An easy way to make your old shoes new! I was pretty generous with the amount of glue that I used that's why mine got a little messy but I used scrap fabric to clean up the edges. Depending on the glue that you use, you'll probably have to wait about 24 hours before you wear these puppies out!

Enjoy!
kmatheson

Saturday, January 22, 2011

Half Moon Manicure

This past week I decided to do something different with my nails. I found half moon manicures which I saw in a lot of magazines lately so I really wanted to try it!

This is what they're meant to look like....
First paint your nails a light colour, I chose "Moon over Mumbai" (Review here) You want to pick a colour that doesn't need a lot of coats. Wait for this colour to COMPLETELY dry, trust me you may even want to wait for the next day.

After that you take hole re-enforcers (for paper) and stick them halfway on your nails. I cut mine in half and then stuck them on. They should cover the bottom half of your nail (This would be the moon part). Then you pick a darker colour for the second half, I chose "We'll always have Paris" by OPI. Paint the upper half of your nail over the first lighter colour and it should look like this...
Once the second colour has dried slowly peel off the sticker. Once all colours are set, paint a clear top coat over them. and you're all done! These are what mine looked like before I cleaned them up..
Some problems I had were I stuck the stickers on too early so I ended up with my lighter colour messed up :( and I was really disappointed. I also applied too many coats to the bottom layer making it thicker so it took longer for the darker colour to dry and it chipped easier. All in all I really like these! It's easy to do at home and it looks professional! Hopefully I'll have better luck the next time! :)

PLH,
kmatheson

Saturday, July 10, 2010

How to: Define your eyebrows

Before ^
After ^

Not a regularly discussed subject but I really think that this is important, it can really enhance your look or just change it up every once in a while if that's what you would rather. I once heard a saying (from a different beauty vlogger) that if your eyes are the picture, then your eyebrows are the frame.

Start off by using an eyelash brush just to brush out your brows. Now use some coloured pencil or powder that will darken your brows. I use an eyebrow pencil from MAC called impeccable brow pencil in "taupe" do just short strokes along your natural brow so where the hair is. Once you get better at it you can create an arch even though you may not have one. I suggest starting off realy lightly and then once you get more comfortable try to make them darker until you find a style that you like. Now you seal the look with brow gel, I use clear mascara which works just as well but there are coloured brow gels out there, I just haven't used it before. Apply it at the bottom of the brow closest to your face then wiggle the wand upwards, you don't need to use much. Brush it all along the rest of the brow with an eyelash and you should be set!

Try it out!

PLH,
kmatheson